How do I use the STRATO DNS editor?
The STRATO DNS editor is a simple and convenient way for you to change the DNS configuration of your server domains in the STRATO Server Login. You can also use the DNS editor to create subdomains on your server and to change their DNS configuration.
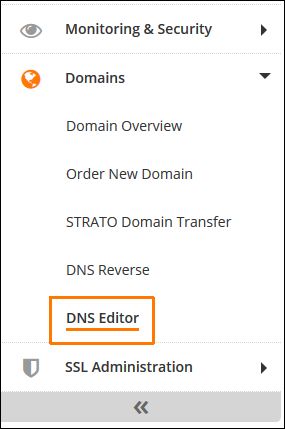
The DNS editor is included in our Root, Virtual and Multi-Server packages. To access the DNS editor, first go to your STRATO Server Login and sign in with your login details. You will find the DNS editor under the menu item Domains.
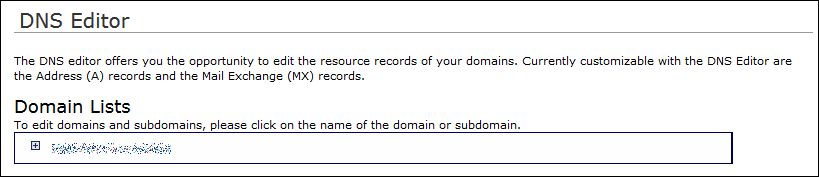
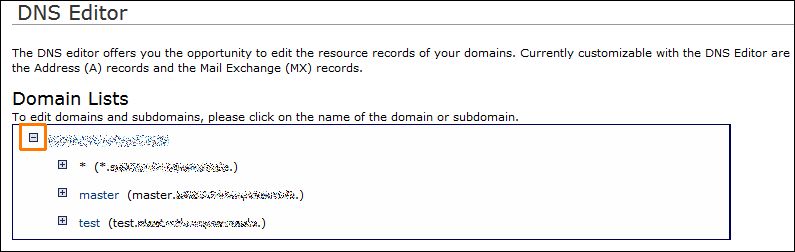
After accessing the DNS editor, you will be shown a list of domains configured on your server. Now select the domain you wish to configure.
The following pages let you change the A record for this domain. To do this, you can either use an external IP address or select one of your server’s IP addresses directly.
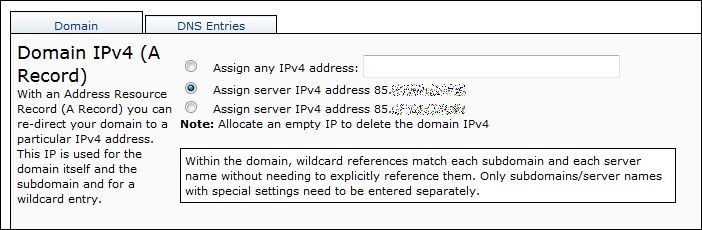
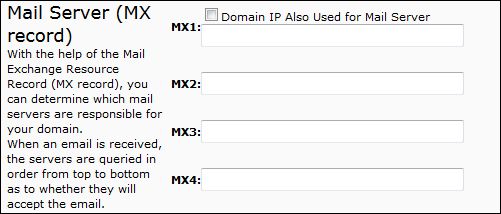
In addition to the A record, you can also change the MX record for the selected domain on this page. When activating the option: The IP address defined for the domain is also added as the first MX record if the domain IP is also used for the email server. You can enter additional MX records in the following lines.
Using the DNS editor to configure subdomains on your server
Creating a subdomain
To configure a subdomain, first go the domain list and select the domain name for which you would like to create a subdomain. Click on the plus symbol in front of the domain to make additions to the list.
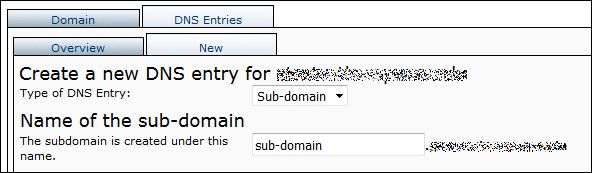
Click on the domain for which you would like to configure a subdomain. Go to the DNS Records tab. Select the button New to create a new subdomain
Configuring or deleting a subdomain
You can create a separate DNS configuration for subdomains, just like a primary domain.
If you would like to delete a subdomain, simply select it in the list of your subdomains and then go to the IP tab, click on the item Assign any IP address and leave the input field blank.
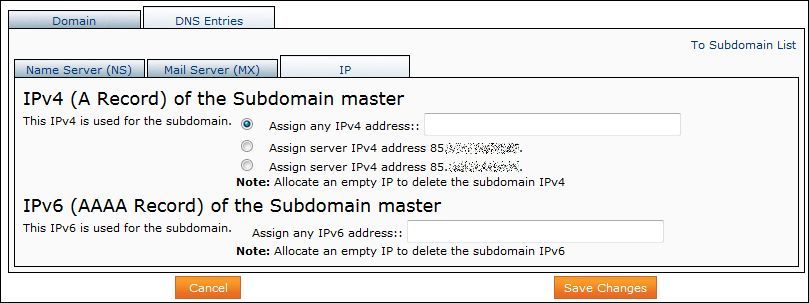
The subdomain will be deleted after clicking on Save Changes to confirm your settings.
Please be aware that changes to the DNS records may not be visible immediately, depending on the DNS server you are using.
How to create a CNAME
The DNS editor can be used as well to create CNAME records for subdomains.
Click on the DNS editor and on your selected domain to access the DNS editor.
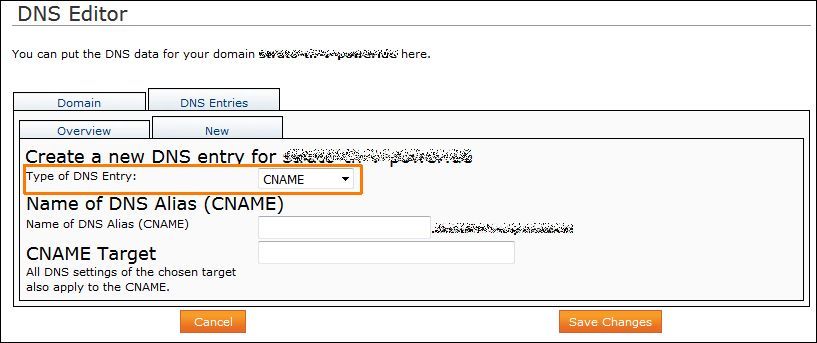
Then select DNS Records, ‘New’, and finally CNAME under Type of DNS Record.
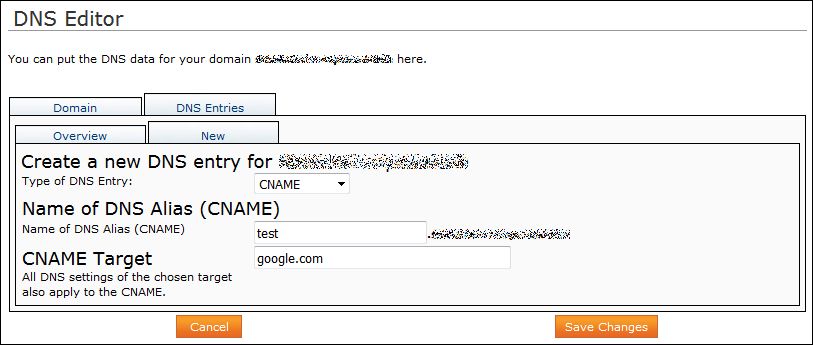
Enter your chosen name for the DS alias, and below this the CNAME destination. This applies only to new subdomains.